
The last time I used my Olympus OM I noticed that I had a small light leak. When I looked at the light seals more closely I’m surprised that I didn’t have a massive one! They were gone. I thought I’d have a go at replacing them so ordered up a kit. I have so many cameras that it got put away as “a job to do” but never got done. Today was the day!

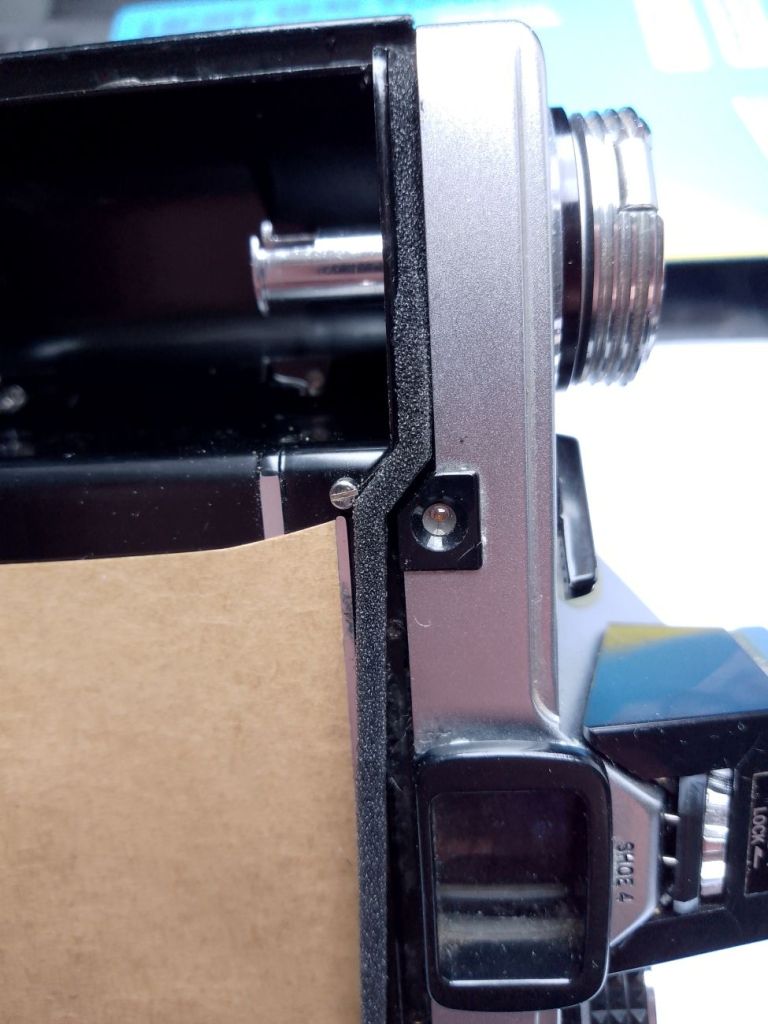
Before I did anything I put some suitable tape over the shutter, being careful not to touch the shutter blind itself. Then as it’s pretty easy to do with the Olympus, I took off the back door. It’s a simple matter of just sliding that screw right by the hinge. You can see from the photo to the right, the state of the foam. It is recommended to remove all the “gunk” with alcohol, I didn’t have any to hand so I used methylated spirits – seemed to work just fine! I used a very small panitbrush to dab on the meths sparingly. Leave a minute, have a scrape, repeat. After about an hour most of the old foam and glue was gone. A final wipe over completed the job.


Of the tools provided the plain tooth pic with a spiked end was by far the most useful, after that my own paint brush. You can see from the middle image above the resedue of the old glue, and on the right the decayed foam that came out. While I was in there, I gave the inside a good clean too.
People have commented that the difficult part is to insert the new foam without it twisting or sticking to the side. It is suggested that the new foam’s sticky edge is wiped with alcohol to impair the stickiness as it’s fitted, then as the alcohol evaporates is lets the glue stick the foam in place. I found just a light lick did the same!
If I had a difficulty, surprisingly it was just getting the foam off the backing paper! I found the good old tooth pick combined with a finger nail, I got the new foam in ok. I would say that if there is a trick to it, then working the “line up” as in making sure it’s not twisting or sticking in the wrong place, working ahead by about 1cm seems to help. Once all in the right place I went over it again and made sure it was well seated. Obviously I ordered foams for the OM – they all seem to be the same for the 1,2,3 and 4 – maybe not the 10,20,30 or 40! They fitted fine, but it’s important not to stretch them in fitting.

Emboldened by my success I decided that I’d also tackle the mirror “bumpers” on the inside of the camera. Proceeding with great care, I removed the old ones, with very tiny amounts and movements in every respect. The old foams seemed to almost dissolve into the cotton bud. I wiped clean, and applied the new ones. Gave the exposed focus screen a good blast of air, left the mirror well alone!
Job done! All told it took about an hour and a half, listening to calming music as I went! The final test of course is to run a roll of film though and see if the light leak is fixed!

There is also internal foam around the prism, which will destroy the mirroring on the prism as it ages unless you replace it as well.
LikeLiked by 1 person
Hello, That’s interesting to know – I think that may well be a step beyond my bravery or ability! That maybe the point of sending it off to a professional for a full service! Unless I find an old junk one to have a play with first! Thanks for the info! Cheers Andy
LikeLike
I think I need to replace the seals in my OM-2N (again). I did them before, but used sheets of foam rather than a kit and, while they seemed to work just fine, I noticed some intermittent, though faint, light leaks on a couple of shots last time I used it.
LikeLiked by 1 person
Hello! I found the pre-cut-shaped ones moderately easy to install, if fiddly! I got sent a couple of sheets so let me know if you need one!! Cheers Andy
LikeLiked by 1 person
Thanks for the reply and offer, Andy. When I eventually get around to the task I may take you up on it.
Nige
LikeLiked by 1 person
Hi Nige! Pleasure! Cheers
LikeLiked by 1 person