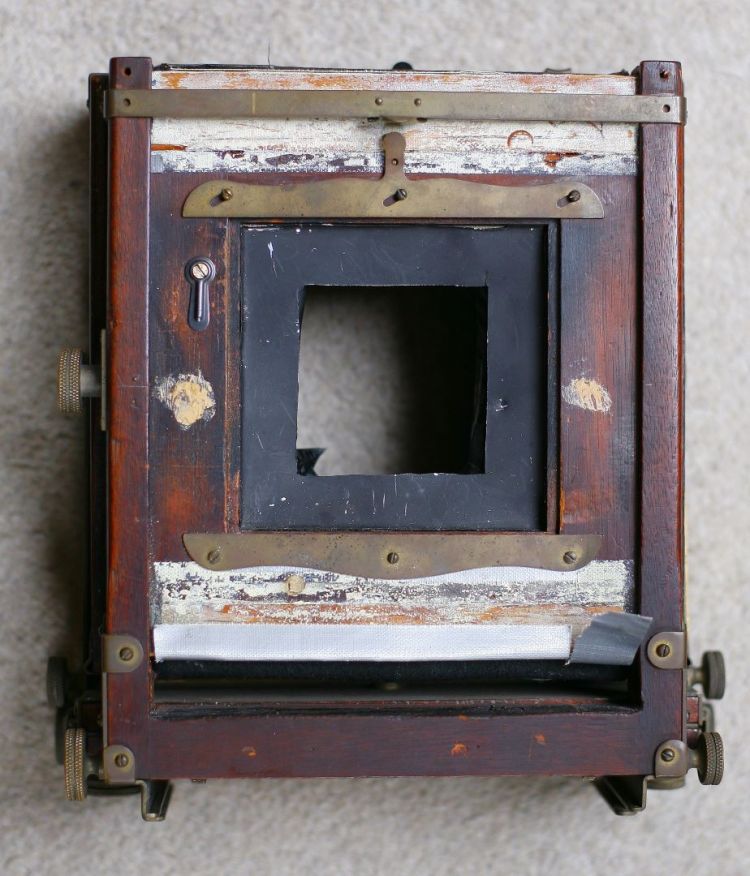
In many ways this was the bit I was most looking forward to tackling. I’ve gained a little experience in all aspects of this, as I’ve gone along, that gave me a bit more confidence to move forward. It’s the “forward facing” bit, the area that most people are going to see – and whilst this is never going to be a perfect restoration, and I’m not looking for that, at the same time, I can’t deny I’d like it to look a decent job if not nice! So what needs doing…
*Remove the (white-ish) bits of plywood top and bottom that shouldn’t be there.
*Remove the black painted bit of metal, that shouldn’t be there either.
*On the top of the bottom bar, a thinner piece of wood has been sawn off, but left rough. Sand and smooth to a better finish – I’m not going to replace it.
*Remove all brass and clean.
*Sand all wood down, stain with 2 coats of Yew stain, varnish, lightly rub down again and apply a top coat of varnish.
….. done
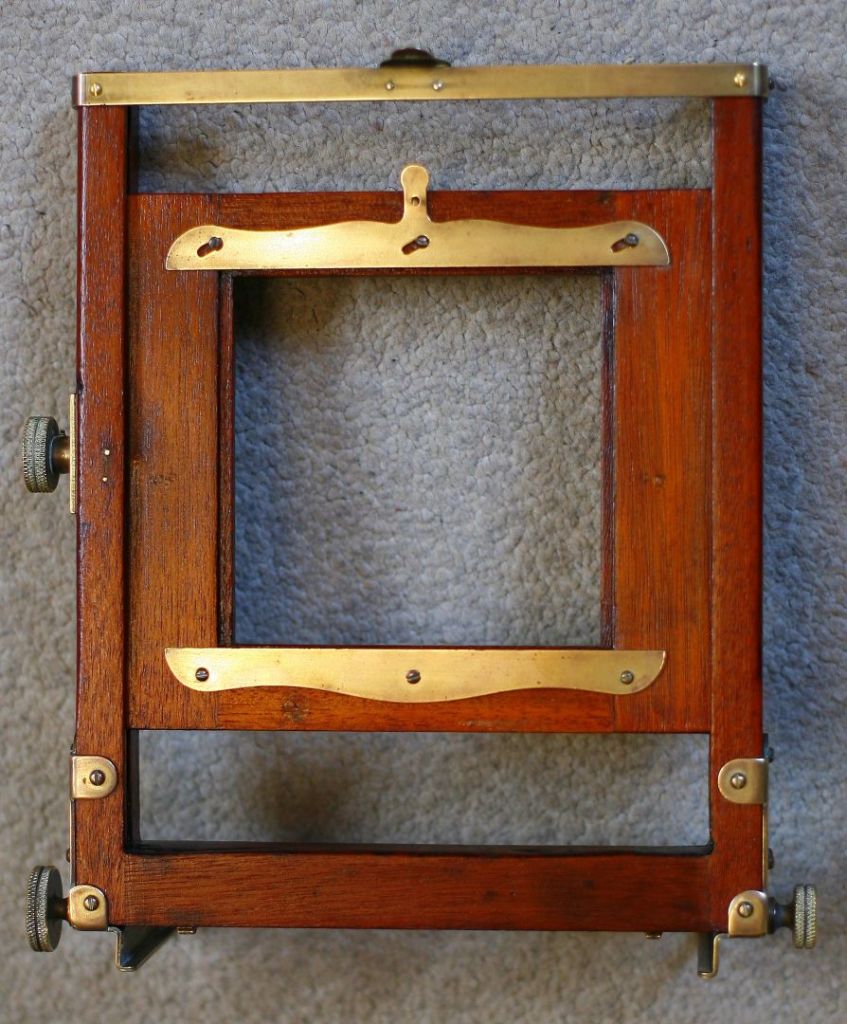
First of all I have to say I’m rather pleased with the result – if I’m honest it’s better than I thought I could do! Having never done anything like this before it facinates me that as I progress certain things come to light! For example, if you look closely (I’ve disguised it as best possible) you can make out a filled hole in the wood, on the lens board, under the brass between the left and middle screw. In it’s early life this is where a black tube entered carrying a puff of air from a bulb in the photographers hand, to a shutter unit behind the lens. A different era of photography! At some point the original bellows obviously disintegrated, and were replaced by some that the then owner had lying about. The wrong size ones! This is why the bit’s of whiteish plywood were added, to fill in the resultant hole! I assume that’s why he sawed off the thinner part of the bottom so as to allow some “rise and fall” with his now longer lens board. It makes sense. The brass across the top had also been removed, turned up-side-down and re-mounted lower. I know why that was done too, but won’t bore you with that – I have decided to put it back as it should be however. Just for clarity, I am not going to, and don’t recommend you do either – take my Nikon F3 apart so I become as familiar with it’s workings!

Next time in restoration corner…. removing the bellows!!!!!!