
Do you process film? Now that’s a question I’m asked quite a bit – and there is a long and a short answer… short answer, yes. Longer answer….
As I’ve mentioned before I started processing my own black and white film about aged 10, you can read all about that here: First Attempts. I did more at school, the darkroom was under the stage so I know the musical Godspell quite well! About aged 15 I’d tried a Barfen E6 colour kit, with very poor results, and never home processed colour again!
The add for the JVC (VICTOR in the US) GR-C1 VHS-C Camcorder above, (famous for appearing in Back to the Future) shows my second video camera. My first was a B/W Phillips camera, with a very long mains supply cable that also contained the video and audio feed, that in turn was plugged into a VCR to record it! How times change!! But I digress, my first “proper” job was at a local photo processing company called “Photomasters”. At one point we processed so much film we split into shifts. No one wanted to work the late shift 4pm to 12 midnight, but I didn’t mind too much, neither did my colleague Simon I guess, so it was just the two of us for the late shift – one night I took in my JVC!
Just recently I found the tape! I’m amazed how poor the quality is, and how good we thought it was at the time – anyway, with the aid of terrible quality frame grabs let me talk you through the process of “Photo Processing in the mid 80’s”
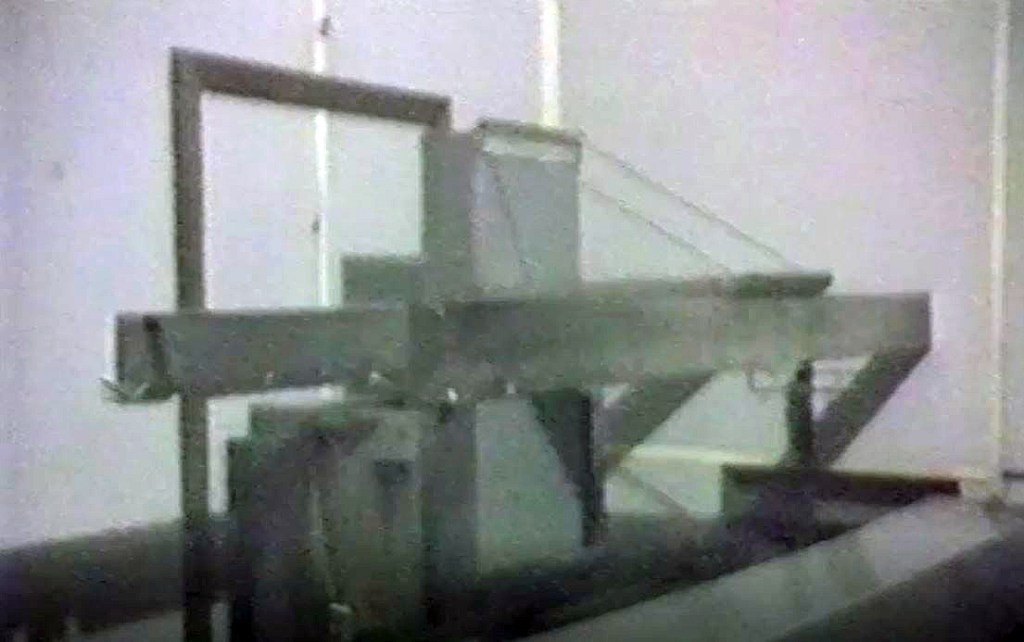
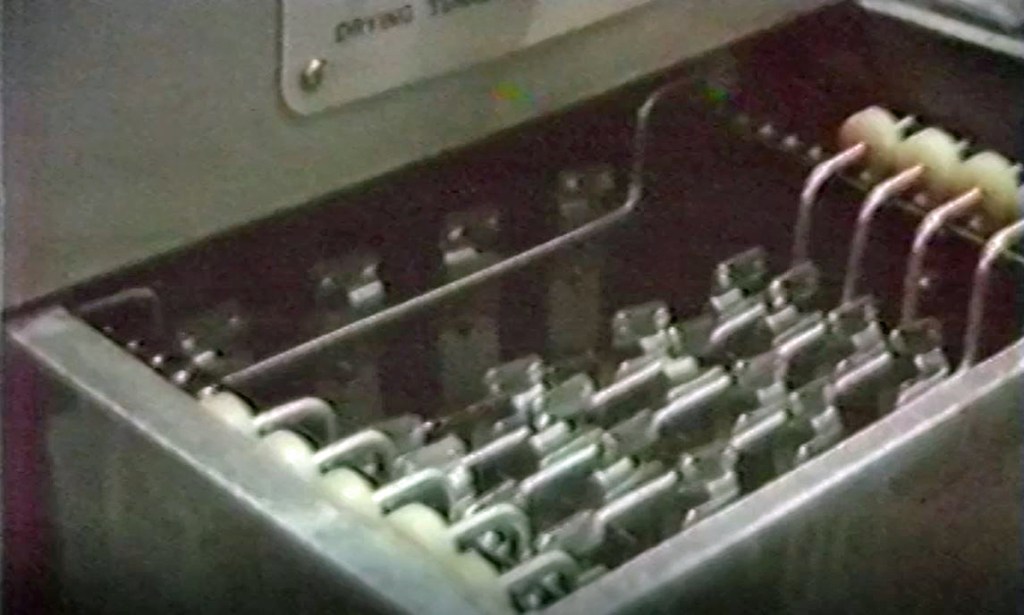
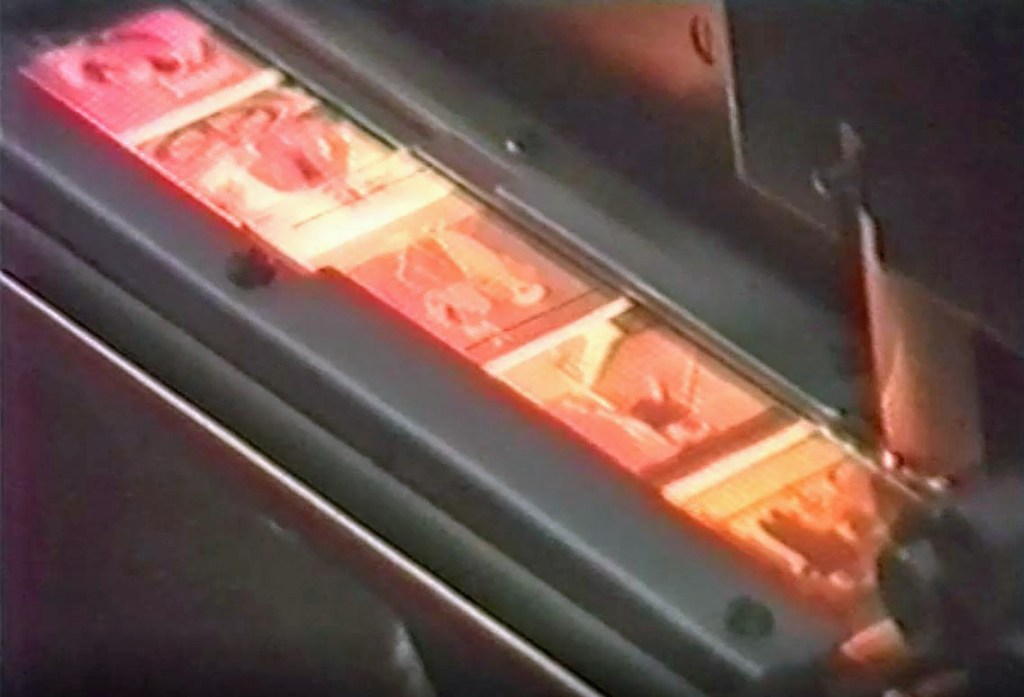
Films were first stripped from their cassettes and clipped both ends at the top, weighted at the middle (sort of in a loop) and loaded onto the “Dip and Dunk” machine. This automatically lifted the weighted films from one tank to the next, the chemistry tanks were about 3 foot deep. The operator was entirely in the dark of course, and had to run fingers along each tank edge each time the machine moved in case a film had “swung” itself back into the wrong tank!!
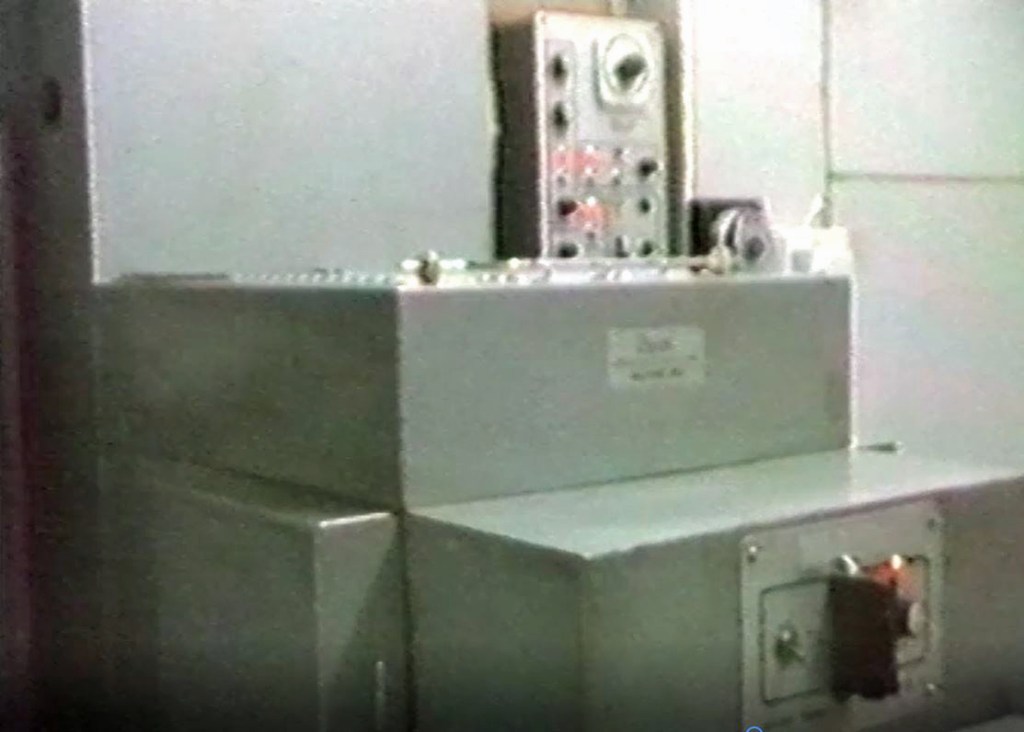
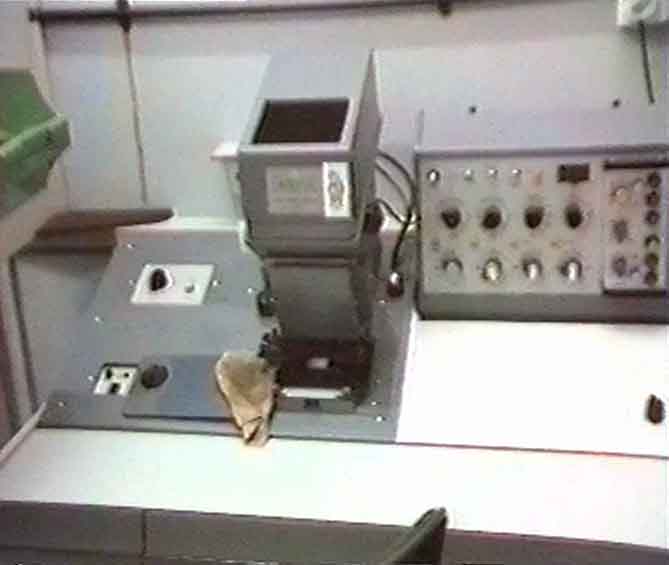
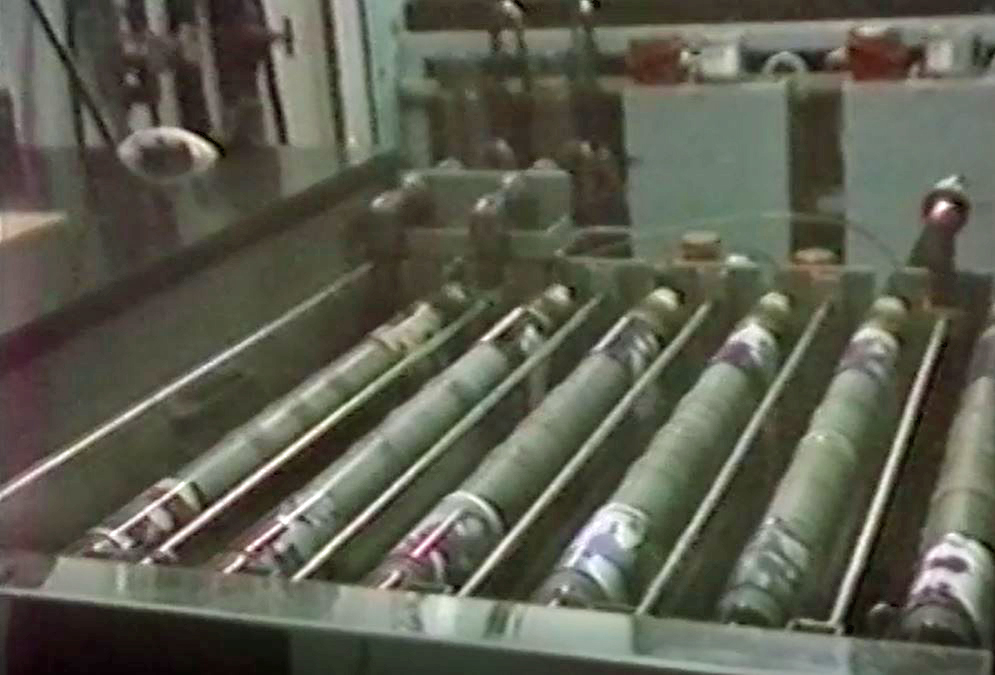
The “Dip and Dunk” dropped the films into the drier, via a light trap. In the lit lab, they could be removed – checked and sorted to the various printers. I used a Durst ACS (301?) printer most of the time. On it I could print in “daylight” sat at the machine, 35mm, 126, 110 and the dreaded disc film. For this we had to use an additional magnifier so we could see what we were printing! Paper loading was a roll that was the other side of the wall in the dark. Latterly we also had a Fuji auto printer, their first step towards a “mini lab”

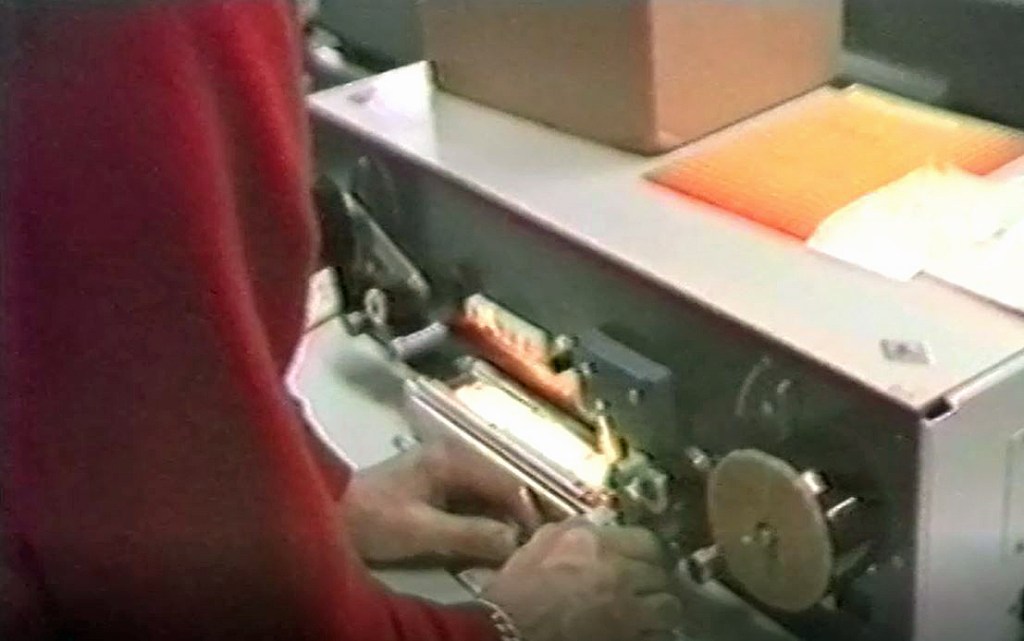
Films destined to be printed on the “Fuji” needed to be spliced together into a long length first – think bulk film. We normally did about 25-30 films at a time, this kept lengths and more importantly work flow – about ideal. Then each neg was “notched” – if you have any film negatives from this period that you had commercially processed you might notice a little cut out notch along the side edge of the film, exactly at the middle point of the image – this is what the printer used to line up.


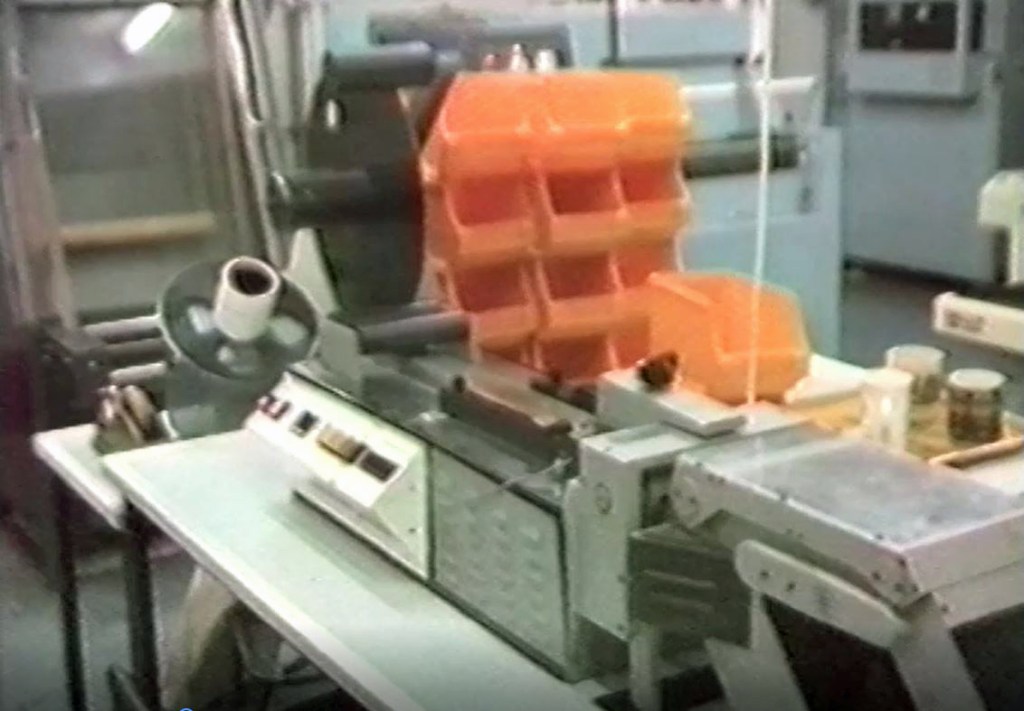
Once printed the roll of paper was removed and loaded onto to paper processor. All in the dark of course! This was a continuous run machine, driven by belts, that snapped now and again. I’d hear the tension weight drop, followed by the loud command “belt break – going dark!” the whole lab thrown into darkness. This always seemed to coincide with me just about to take a sip of coffee! We knew what to do – no panic. To this day I can walk around in the dark and have good spatial awareness, I’m sure it comes from those days!

The roll of prints were checked for faults. It is surprising at what speed that can be done well once ones “eye is in”. Any faults written on the print with a chinagraph pencil for re-printing. Any faults that were the fault of the cameraman had a suitable “help label” stuck on. We all know those!

At this point the film joined the prints. That’s why labs use a “twin check number” so you get the correct prints and negs. Golden rule: Check first and last neg/first and last print! That’s all there is too it!

So when I’m asked do I process film I’m thinking B/W maybe two at a time at home these days. Colour I get a lab to do. If asked “how many colour films have you processed or printed?” the true answer in in the many thousands! Of course I have a few other tales from those days – but that’s for another post!

Home color processing these days with any of the available C-41 kits is as easy and fast as b&w.
LikeLike
Hi Mike, Yes, it’s certainly easier than it used to be that’s for sure! I get a good discount on commercial colour processing, and it gets done quicker than if I did it so I send it to the lab. (At the moment!) All best wishes – Andy
LikeLike
Back in the late 70s and early 80s I worked for a number of same day developing companies … I remember one of the had the prints showing the processed prints in the window to entice people to drop off their film … always knew when porn was being developed by the crowd outside!!!
LikeLike
Hi, yes I can imagine! I too have seen more than my fair share of “body parts!” while I was working there. More than Edward Weston I bet!! Best wishes, Andy
LikeLike